Dragon Quest Builders is about a 40 hour game, should someone rush through it. Well, the campaign’s islands, anyway. Terra Incognita, the free build area, could take upwards of 40 hours on its own. Each one of the story’s islands has its own area to rebuild and, eventually, boss to fight. While the first boss may seem intimidating, it isn’t hard to make this the easiest fight in the game.
Note: this strategy has spoilers for Dragon Quest Builder’s first boss.
Cantlin’s Golem can and will take out your town, if you don’t properly prepare for it. His boulders, if not blocked by a Cantlin Shield, will destroy the city walls and furniture. Fortunately, you can stop that without having to do tons of crafting. One of the quests you’ll be forced to undertake is gathering Orichalcum for the Cantlin Shield. The easiest way to get this from the land beyond the third teleporter is to take a Wrecking Ball bomb and blast it out of the wall. If you collect it that way, you’ll end up getting Obsidian blocks. While you’ll be able to destroy them with your hammer after placing them around Cantlin, enemy attacks can’t put a dent in them. They’re the perfect substance to protect the town leading into and during this final fight.

What you need to do is put a three Obsidian block tall wall around the entirety of Cantlin, all within the city limits. The “inside” part is most important, because everything immediately outside the city limits for a select distance will temporarily disappear during the fight against the Golem. But back to the Obsidian block wall. I recommend doing this before not only the Golem fight, but also before the waves that precede it. Various knights will appear as part of these hordes, and their attacks can bash their way through other blocks. They’ll tear down the best barricade you have set up west of the city, easy. It wouldn’t be the worst idea to even go four blocks tall, if you have enough blocks, to keep villagers like Rollo and Kenelm from hopping up and over during the early waves. Make sure you place an Obsidian block wall behind the barricade wall you’d built earlier too!
Once you have the Obsidian walls up, it’s time to prepare for the actual fight. While Dragon Quest Builders will recommend making 20 Wrecking Balls, that’s overkill. You really only need six Wrecking Balls. The same goes for the Cantlin Shield. Thanks to the walls you’ve placed, you’ll only need one. You should also have about seven medicinal herbs for incidental damage caused during the Hammerhood portions of the fight. Fortunately, a story quest with Pippa will already have your healing needs covered.

Go ahead and handle the waves leading up to the Golem’s arrival as usual. They’re nothing unusual and, thanks to the Obsidian wall, you can pick them off at your leisure. They’ll sit and wait. I made sure my builder was standing over the former barricade. The enemies took out the spikes, but not the Evil Idol statues. When the Golem arrives, all of your villagers will disappear, the land immediately surrounding Cantlin will be replaced by a desert battlefield, and all you’ll have to deal with is the Golem.
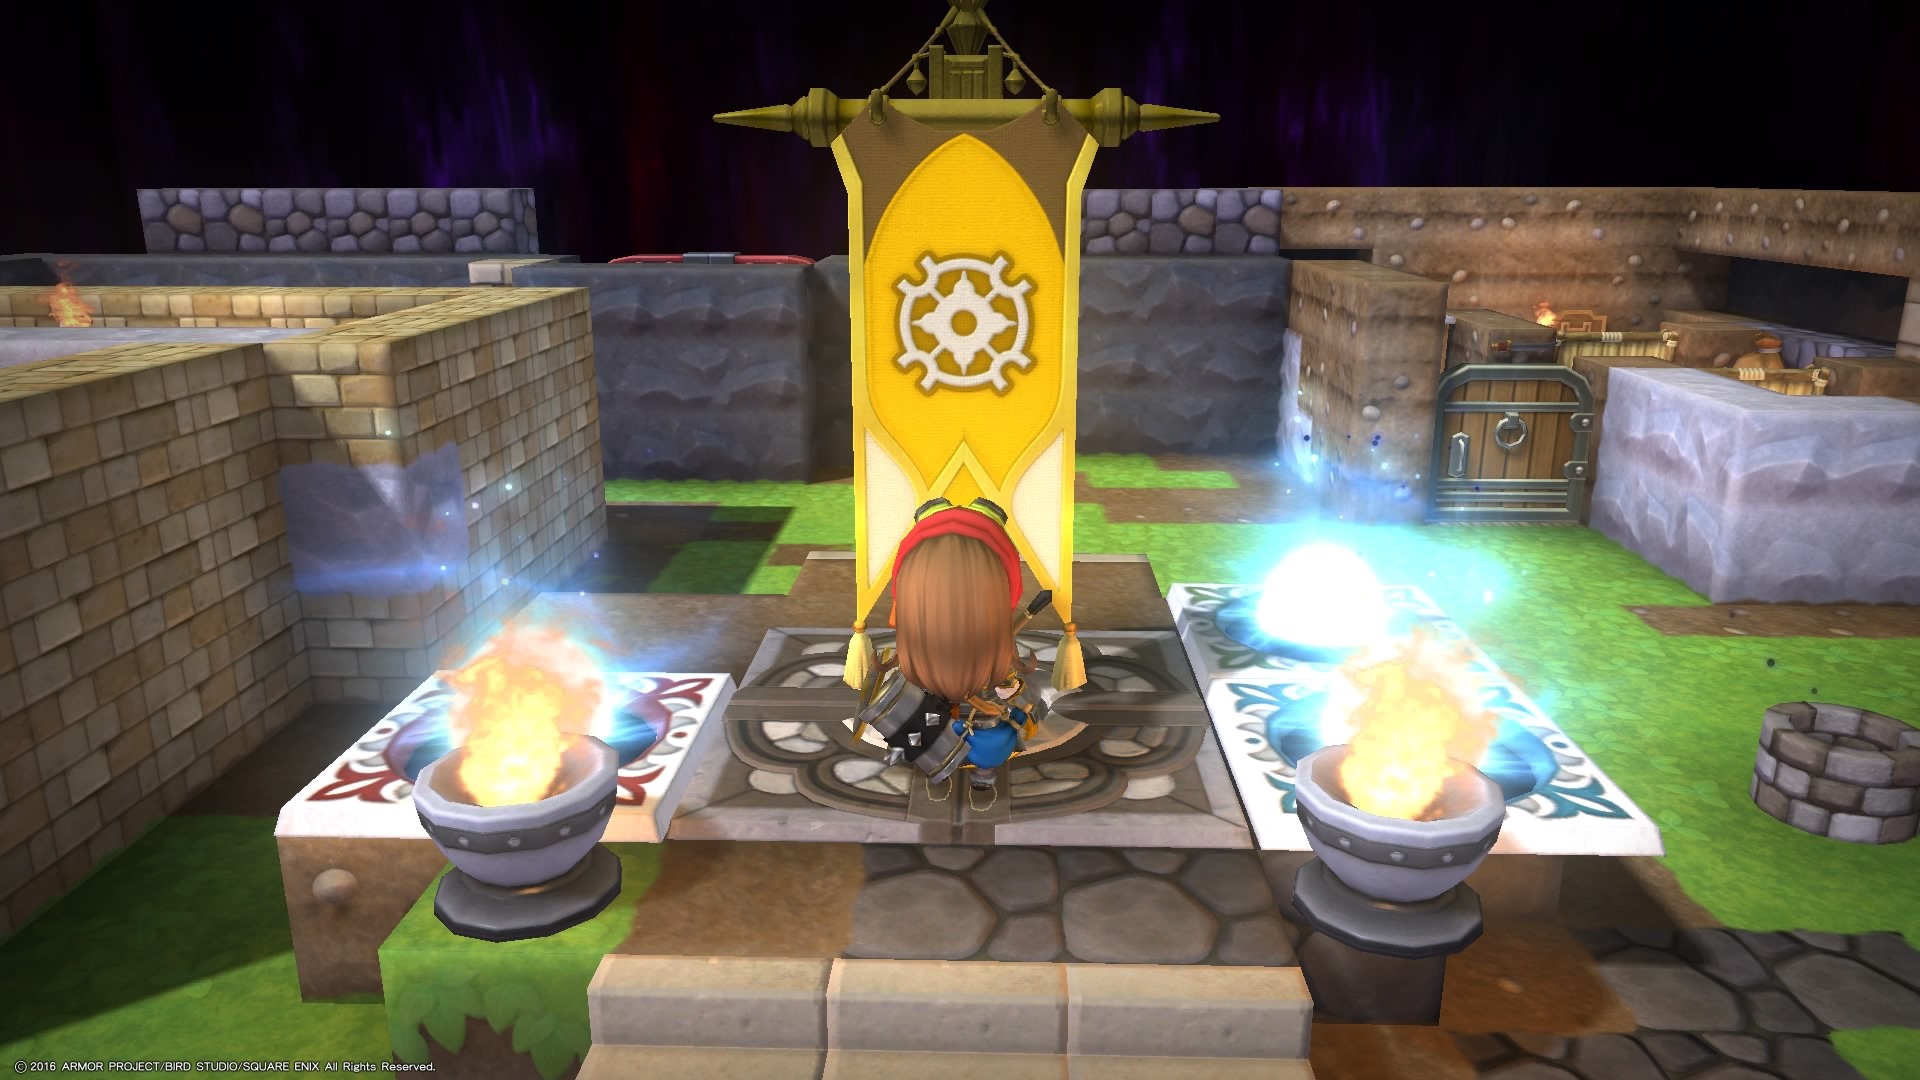
Here’s where it gets easy. As you can see in that Dragon Quest Builders screenshot above, the Golem’s boulder landed a direct hit on Cantlin’s new Obsidian wall. It shattered, and only did damage to one superficial earthen block I’d placed to keep Rollo from hopping up and out of the city during an earlier wave. His attacks will do no damage, which means no cleanup after the boss fight.

From there, it’s about being out in the field and relying on your single Cantlin Shield. Even though the city is properly defended, you still need to go through the motions of blocking boulders by placing a Cantlin Shield in front of them three times. The Golem will be infuriated. You stay behind the shield until he finishes his spinning tantrum. Place a single Wrecking Ball at his feet and run out of range. Once he’s down, place one more Wrecking Ball at his feet. Run away. Watch as it does 300 damage. Head back and grab your Cantlin Shield, if you haven’t already. The Golem only has 900 hit points, so follow this pattern three times and you’ll be done.
The most difficult part of this fight is actually the two waves of Hammerhoods that come after you’ve dealt the first 600 points of damage. And it isn’t even because they’re difficult. There’s only a handful each time. The problem is that same Golem. He’ll be hopping around, throwing a temper tantrum, and it’s easy to lose track of where he’ll land. This is the only part of the fight where you might need to heal. Thanks to the Cantlin Shield, you won’t take any damage when directly facing the Golem.
All of Dragon Quest Builders’ boss fights are similar to ones you might find in an action-RPG. The bosses will have a pattern, something very recognizable, and they’ll repeat it ad nauseam until you’ve done enough damage to defeat it. Cantlin’s Golem can be quite a devastating foe. If you don’t prepare, it’s very easy to have him undo all of your hard work. But, it’s just as easy to make a few extra Wrecking Balls to grab the very blocks that will permanently protect your city and let you focus on taking him out as quickly and efficiently as possible. Just remember to hurry on to the beam of light and next island when you’re done, as none of the equipment or materials you’ve collected will carry over into the next chapter!
Dragon Quest Builders is now available for the PlayStation 4 and PlayStation Vita.


